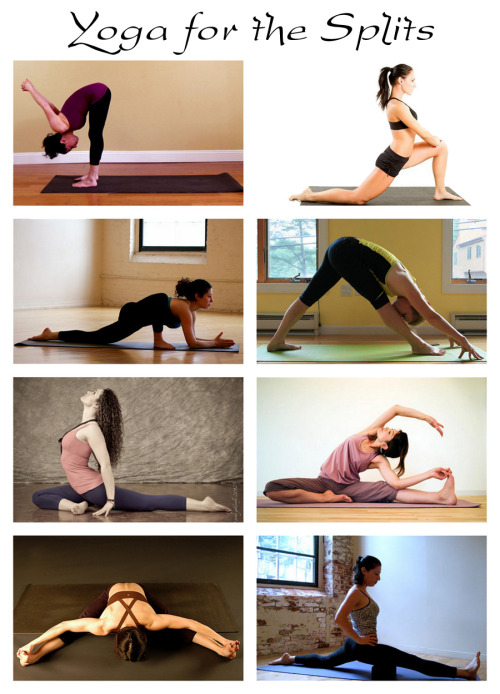
resistemptations:Morning Yoga!! I do this every morning and... resistemptations:Morning Yoga!! I do this every morning and sometimes before or after a workout. It’s easy, but in the morning it’s a great pick me up and boosts your metabolism!!1: Mountain Pose - Stand straight with your feet turned in slightly, big toes nearly touching, and your inner thighs pressed together. to work the core, squeeze your belly button toward your spine. Roll your shoulders up and back. Then bring your hands together in front of your sternum. Slightly lower your chin.2. Warrior 3 - From a standing position, find a spot in front of you to focus on. As you bend forward at the waist, pressing your chest out, lift your right leg behind you. To balance, press down through the heel of your left leg. Work toward lifting your leg high enough to create a 90-degree angle.3. Half-Plank Pose - After putting your right leg on the ground, lower your body down slowly into a pushup position with your elbows bent. Make sure to align your shoulders directly over your hands and keep your feet hip width apart. To work the core (and get your body bikini ready!), focus on keeping your hips at the same level as your shoulders by pulling your belly button in toward your spine.4. Downward Facing Dog - From half plank, straighten your elbows and lift hips until your body forms a triangle. Keep a slight bend in elbows to avoid hyperextension. Lower your heels to stretch out the muscles in the back of your legs. ** My own tip: to get proper form make sure your ears are aligned with your biceps, your tail bone is reaching to the sky, and your pulling your chest towrds your toes. **5. Warrior 1 - While in downward dog, walk your feet toward your hands to return to standing. Step your left foot back so your toes point slightly forward. Bend your right knee, keeping it even with your ankle. Keep your hips and torso squared forward and raise your arms at a 45-degree angle in front of you.6. Warrior 2 - Transition from Warrior 1 by bringing both arms down without bending your elbows. Extend one directly in front of you and another directly behind you so your arms are about parallel to the floor. Rotate your hips to the left. To work your core, pull belly button in toward your spine, making a slight scoop with your pelvis. Do not bend knees more than 90-degrees or past your toes to prevent knee injury.7. Triangle - From Warrior 2, straighten your right leg while reaching your right arm as far toward the floor as you can, tilting your hips left. At the same time, bring your left arm directly above your head. Look up toward your raised arm. It should be almost as if your body could fit in between two panes of glass.8. Extended Side Angle - After triangle, straighten up into Warrior 2 by bending the knee of your right leg, keeping it in line with your ankle. Then, bend the elbow od your right arm and place on your thigh. Reach your left arm over your head, creating one long line with that side of your body.9. Revolved Extended Side Angle - Move from Extended Side Angle position into a forward lunge, placing your left knee on the floor. With your right leg forward, bring your left arm in front of your right leg - pushing your tricep back against the knee. Bend the elbow of your right arm and press hands together in front of you. As you twist your torso toward your right thigh, pull your belly button in and up to engage your core. Then look over your right shoulder. You should feel a stretch along your back. 10. Wide-Legged Forward Bend - Come into a standing position with your feet parallel, wider than hip-distance apart. Bring your hands behind you and interlace the fingers. Slowly bend forward at the waist. To achieve proper alignment, try to keep as little weight in the heels as possibleHold each move for 10 to 15 breaths (about 30 seconds) then repeat again on the other side. Good luck, and happy yoga :) read more..